Find your way around an agent
The Overview, Connect, Email, Logs, Identity, and Tokens screens you see when you open an agent.
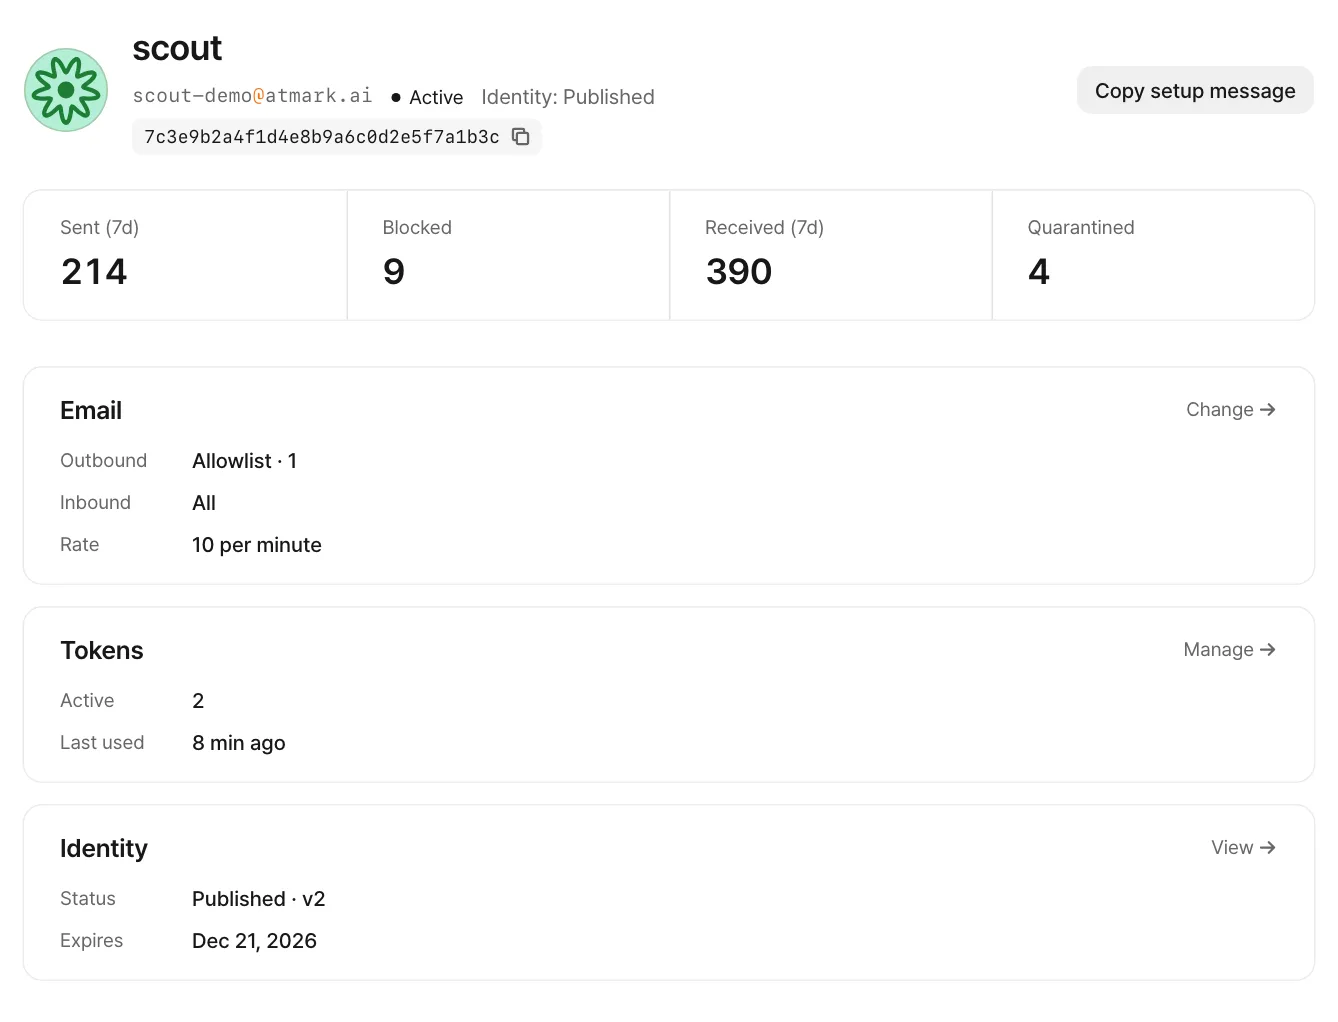
Select a row in the agent list to open that agent. The sidebar switches to the agent's menu. Choose Back to return to the list.

| Menu | What it's for |
|---|---|
| Overview | Sent, blocked, received, and quarantined counts for the last 7 days; email, token, and identity summaries; recent activity. Emergency stop is at the bottom. |
| Connect | The setup message for your agent and the connection details (MCP URL, auth header). See Choose how to connect your agent. |
| Outbound and inbound modes, allowlists and blocklists, the per-minute limit, and trust marks. See Choose who your agent can email. | |
| Logs | This agent's outbound, inbound, console, and scheduled records. See Read the logs. |
| Identity | The identity card, the publish switch, and links to public documents. See Identity card. |
| Tokens | The token list, new tokens, rotation, and revocation. See Manage tokens. |
The switcher at the top
The top bar shows organization / agent. Choose the arrows next to the agent's name to jump to another agent.
What changes by role
Members can see every screen but can't change anything. A Read-only notice appears at the top.
Feedback on this page? Write to support@atmark.ai.